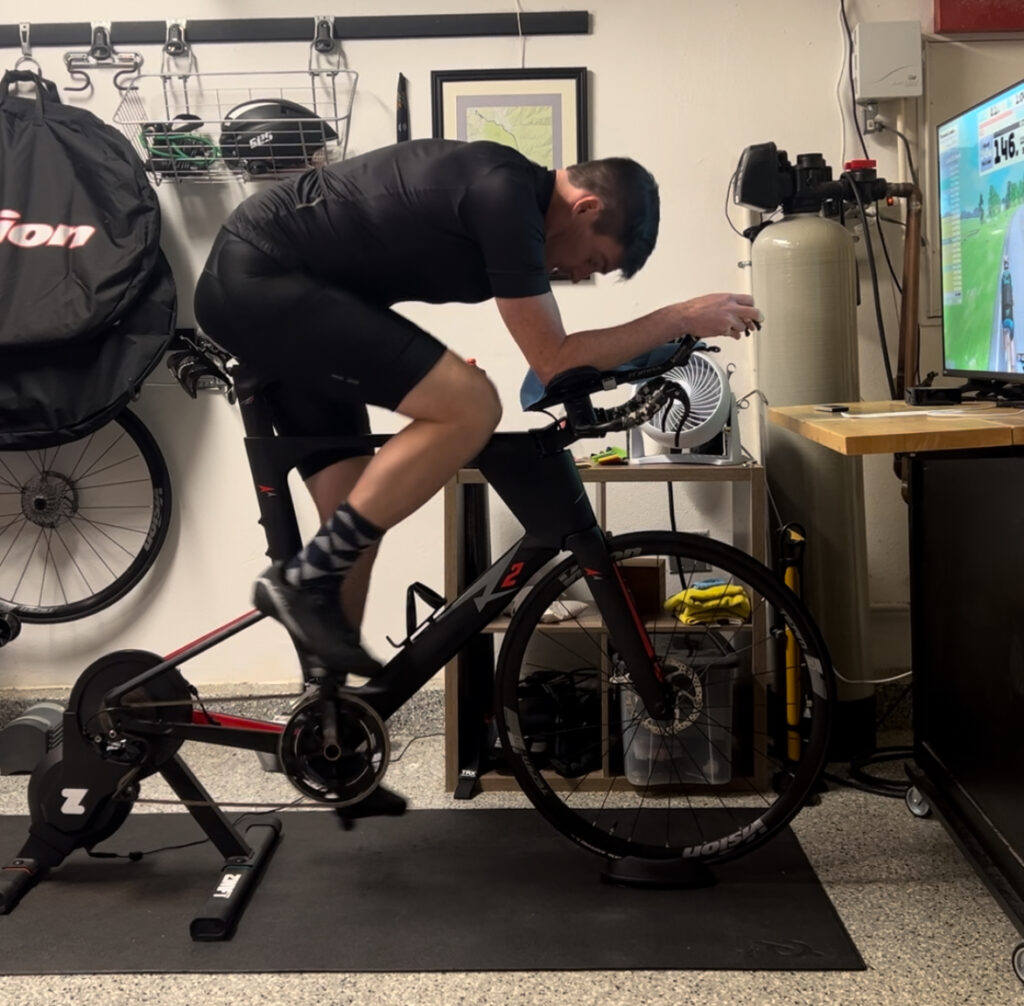
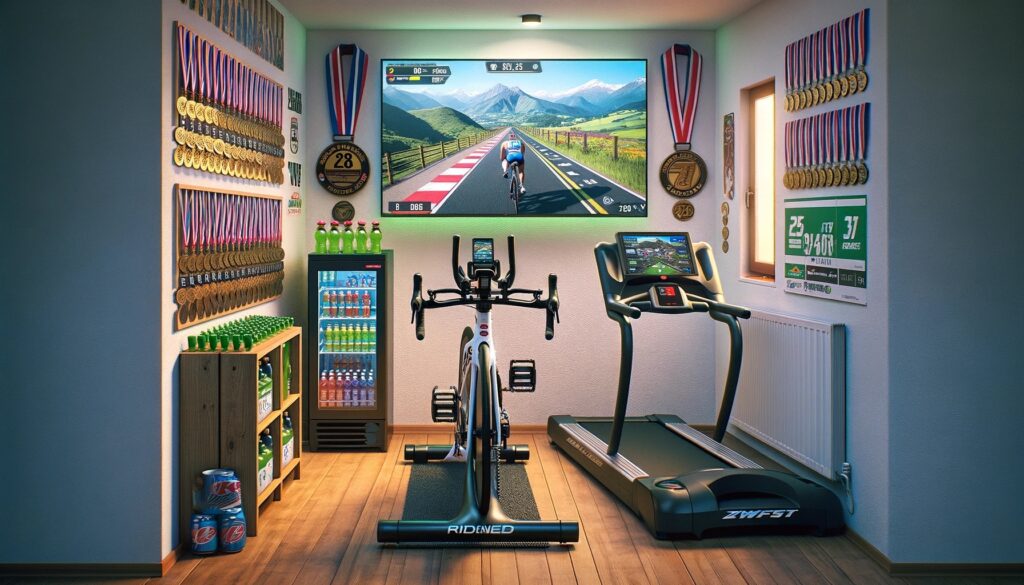
The pain cave is not a physical location, but rather a state of mind—one that every triathlete encounters during intense training sessions. It’s that moment when your muscles ache, your lungs burn, and your mind starts to question why you ever decided to take up this sport. It’s where you push past your limits, confront your doubts, and emerge stronger on the other side.
In practical terms, the pain cave often refers to a dedicated indoor training space where triathletes can push themselves to their physical limits without the distractions or constraints of outdoor conditions. This could be a spare room, a basement setup, or even just a corner of your living room transformed into a makeshift gym.

Benefits of the Pain Cave
- Consistency: One of the biggest advantages of the pain cave is the ability to maintain consistency in your training regimen. Unlike outdoor workouts, which can be disrupted by inclement weather, traffic, or other external factors, the pain cave is always available, rain or shine. This consistency is key to making progress and improving your performance as a triathlete.
- Controlled Environment: Indoor training allows you to control variables such as temperature, humidity, and terrain, creating an ideal environment for specific workouts. Whether you’re focusing on interval training, tempo rides, or brick sessions, the pain cave provides a predictable setting where you can execute your training plan with precision. The other controllable thing I like about my setup is the ability to have the right nutrition all the time. A simple side table loaded with bottles and snacks is way easier to navigate than a bunch of gu packets stuffed into a jersey pocket.
- Safety and Convenience: Training indoors eliminates many of the safety concerns associated with outdoor workouts, such as traffic accidents, unpredictable road conditions, or encounters with wildlife. It also offers the convenience of being able to squeeze in a workout at any time of day, without having to worry about daylight hours or finding a suitable route. For many athlete’s training for a longer distance triathlon while balancing the day to day obligations of a job, family, and other commitment, the ability to get a workout in when convenient is critical.
- Focused Intensity: In the pain cave, there are no distractions—just you, your bike, and your goals. Without the scenery to admire or fellow athletes to keep pace with, indoor training encourages a laser focus on the task at hand. This heightened intensity can lead to more efficient workouts and faster improvements in fitness. On the flip side, but long monotous training sessions the pain cave can serve to provide all the right kinds of distrations. While a 3-4 hour ride outside can be amazing, doing one on a trainer can be super boring. With the right setup though you can keep yourself occupied with streaming services like Netflix, get some work done with a standing desk, or even handle simple chores like folding some laundry all while getting in some good Zone 2 riding.

Tips for Building Your Pain Cave
- Choose the Right Equipment: Invest in quality equipment that suits your training needs, whether it’s a smart trainer for cycling, a treadmill for running, or a swim ergometer for swimming. Consider factors like noise level, space requirements, and compatibility with training apps or software.
- Create a Motivating Atmosphere: Personalize your pain cave with motivational posters, upbeat music, or inspiring quotes to keep you motivated during tough workouts. Surround yourself with reminders of why you’re putting in the effort and visualize your goals as you train.
- Stay Organized: Keep your pain cave tidy and well-organized to minimize distractions and maximize efficiency. Arrange your equipment in a way that allows for easy access and movement between exercises. A clutter-free environment can help clear your mind and enhance your focus.
- Mix It Up: Prevent boredom and plateaus by incorporating a variety of workouts into your indoor training routine. Experiment with different training modalities, such as HIIT sessions, endurance rides, or strength training circuits, to challenge your body in new ways and keep your workouts interesting. While it may not make sense to jump off your bike outdoors to do some pushups or practice a transition, with an indoor setup you can add much more to the training to keep it interesting.
Gear for Your Triathlon Pain Cave
As mentioned before each pain cave is going to differ based on personal preference and the space available. Below are some of the items worth adding to a pain cave, along with some ball park costs to consider. As with many things in triathlon, building out a dedicated training room is not inexpensive. Much of this list can be purchased for less especially if you can find some of them second hand.
- Smart Trainer ($500-$2,000): The heart of your pain cave, a smart trainer allows you to connect to virtual cycling platforms like Zwift and simulate real-world rides.
- Treadmill ($500-$3,000): Allows you to train for the running portion of your triathlon indoors, regardless of weather conditions. Look for adjustable incline features for added training variety.
- Swim Trainer ($50-$2000): Unlike the other two sports swimming is difficult to pack into a small space. Still there are banded options that allow you to mimic the motions of swimming and at least build some muscle. At the upper end there are also jetted “endless pools” to consider if you really want to go big.
- Interactive TV or Projector ($200-$1,000): A larger display is key for viewing virtual cycling landscapes or training videos during your workouts. This can be a small tablet, or a fully integrated projected and surround system. In a pinch many virtual trainers (including Zwift) can run off a smart phone.
- Sweat Mat ($20-$50): Protects your floor from sweat and tire wear while keeping your training space clean. A small pile of towels along with a protecting floor mat will help avoid the damage that sweating in one place can take on floors and walls.
- Heart Rate Monitor ($50-$200): Tracks your heart rate for effective training zone monitoring and workout intensity management. Zwift requires this for virtual racing and many training plans call for heart rate target zones.
- Fans ($30-$100): Stay cool and comfortable during intense workouts with a strategically placed fan or two. When riding you produce excess heat, outdoors the natural movement helps blow this created heat away but indoors it just builds as a bubble around you. Overheating reduces preformance so adding a fan can help.
- Mini Fridge ($50-$200): Keeps your sports drinks and hydration needs readily available within reach during training sessions. A mini fridge can serve as an accessible table to pile snacks on top of and is a great place to stock the countless calories needed to power a full training cycle.
- Speakers or Headphones ($20-$200): Enjoy motivating music or podcasts while training. Speakers allow you to share the experience, while headphones offer a personal touch. Unfortunately many bike trainers and treadmills are loud, so headphones are not going to block out the sound from bother others in the area, but it still helps.
- Motivation Board (Free-$$$$): Visually inspire yourself with race photos, inspirational quotes, or your training goals displayed on a dedicated board. Some decoration helps make the pain of a pain cave slightly more bearable. Many athletes choose to hand up race numbers, medals, or other race memorabilia.