What Accessories are Best to Have With A Peloton Bike?
When first thinking about purchasing the Peloton, the price can be a deterrent. Especially since, like many things, it’s not so clear what the total cost will be once you get the “necessary” accessories. The most common accessories are shoes and mats, but there are a mountain of other accessory options to consider.
Proper Peloton setup is important to ensure comfort of the bike and avoid injury. To be fair, it’s possible to get a good workout in with just the bike itself. None of the accessories or memberships are entirely necessary, but a few makes things more enjoyable. So make sure you get started by choosing a good Peloton username, and having the right accessories to take advantage of both the social aspects and physical aspects of the bike.
Jump to:
The Right Shoe Size and Fit – How to Put On Peloton Shoes
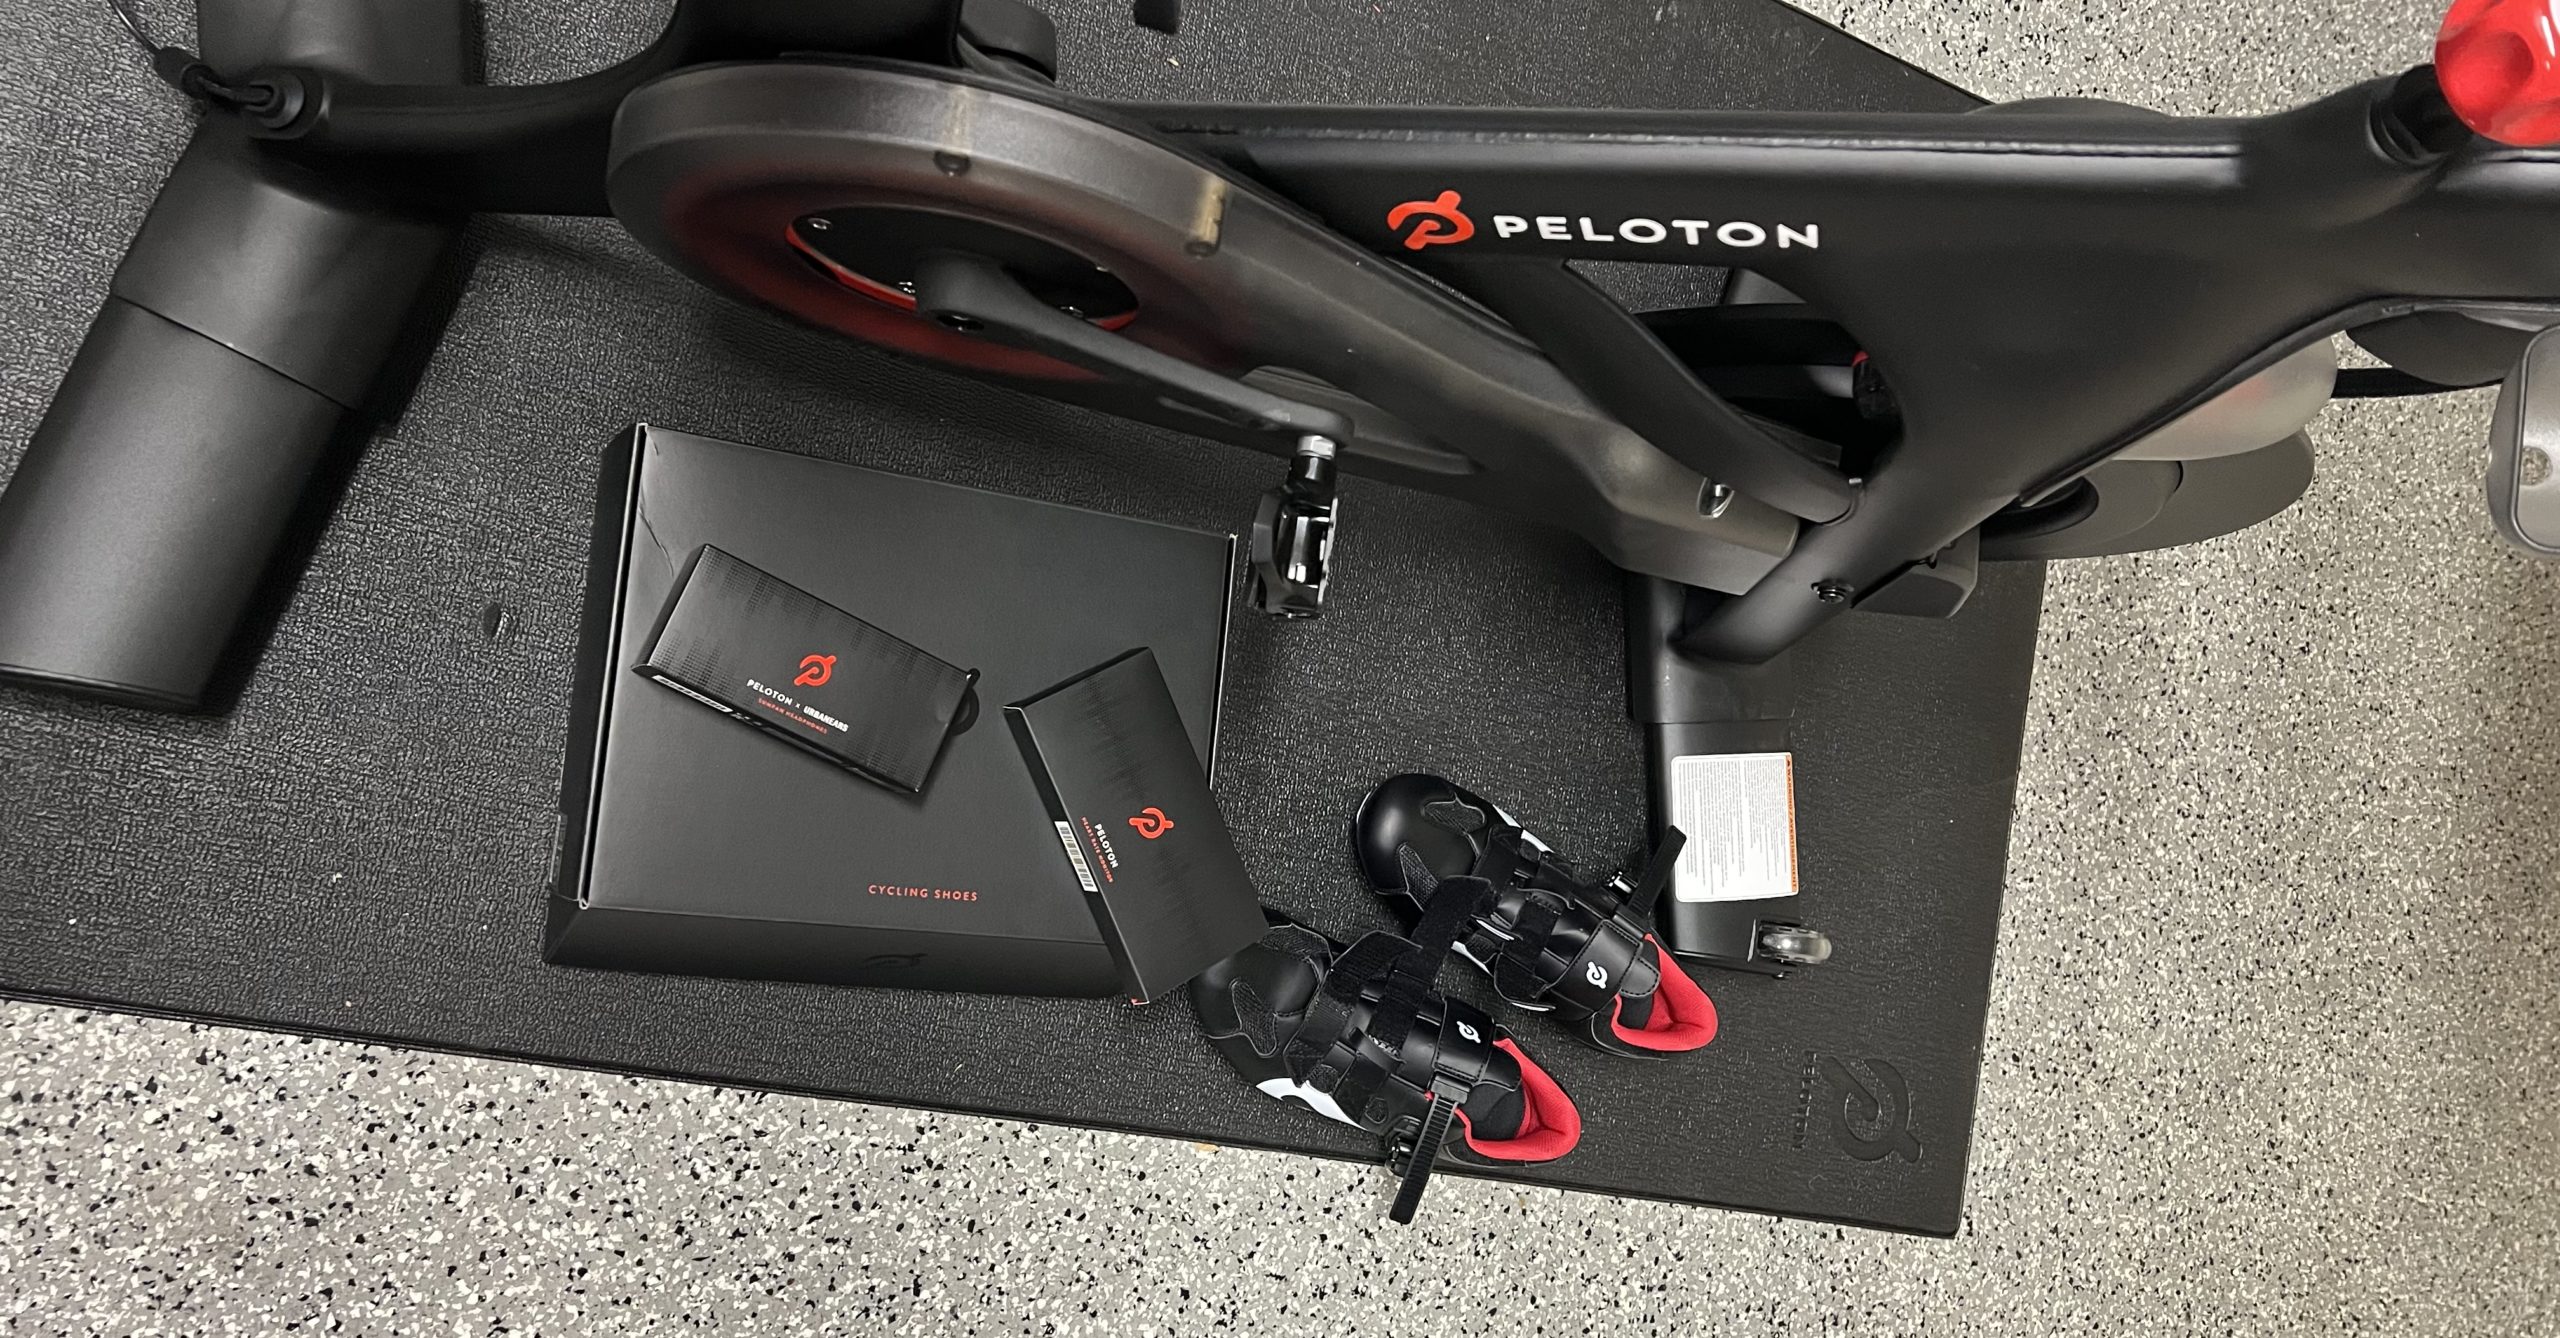
The most obvious Peloton accessory is shoes. Pedals on the bike are clip in compatible, so if you already have clip in shoes they may work. You can still pedal with standard sneakers of any kind or you could even ride a Peloton barefoot (though it would not be recommended).
The Peloton shoes, which use delta compatible cleat style, or clip in bike shoes in general have a few major benefits if you are trying to optimize power output. When the shoes are right out of the box it may be hard to clip them in, especially if the cleats are not on properly. You can loosen the cleats and readjust them to get a comfortable and natural place on the pedal.
To get shoes onto the pedals, all that is required is to step onto the pedal. From there the cleat should snap into place. In practice, brand new shoes might take a few sessions to feel like a perfect snap, but for the most part this is automatic. The key is to get the front part of the cleat into place and the rest can be done by pedaling quickly.
The first benefit of spin shoes is they enable a full pedal stroke so that picking up your foot transfers some power, this helps work a different muscle group a bit and provides more power overall. Beyond that cycling shoes will have a hard sole, compared to a running shoe or sneaker that you can bend. Again this helps power transfer, any power pushed into the heal of the shoe gets transferred to the pedal instead of being being used to bend a shoe.
If you have two people riding and they are the same size, you can use one pair of shoes. They can be cleaned or sprayed on occasion to keep them fresh but otherwise don’t see much wear and tear.
For anyone who wants to ride without cycling shoes, you can get toe cages and flat pedals to make things easier. Riding Peloton without cycling shoes is a fine option, although switching out the gear might be just as costly as buying a pair of cycling shoes. Riders looking to do cycling barefoot would also benefit from a soft pedal that does not tear up the foot. To find out even more about Peloton shoes check out our review of What You Need To Know About Peloton Shoes – Clip Ins, Toe Cages, and Pedals.
A Peloton Bike Mat Helps Keep Your Space Undamaged.
A mat for below the bike is my next favorite accessory. This is especially important if your putting the bike in a place that has super slippery floors (epoxy garage floor). The other reason to get a mat is to protect a floor from sweat, this can be done with a towel too. Even with a mat down a towel can help extend the life of the mat. Even though the Peloton accessory mat is made from a closed cell foam, over time it’ll get smelly if you don’t while it down or protect it.
The mat is really only big enough for the bike itself. If you plan to take Yoga classes having a dedicated mat for that also will make things more comfortable, although this isn’t required- you can practice yoga anywhere so long as you have enough grip on the floor.
Heart Rate Monitors Make Power Zone Training Easier. But Do You NEED a Heart Rate Monitor?
A heart rate monitoring chest strap is a good accessory IF you can follow it. Heart rate training is its own thing, and can be a stand in for how hard you are working. You can also go with “perceived effort” to gauge how hard you are working and be just fine.
The major benefit of heart rate tracking is to quantify that effort. Many people, especially who are new to cardio and or haven’t done any heart rate monitoring, wind up over estimating what an “easy pace” is.
There are great results of cardio vascular fitness linked to high volumes of very low effort work. Having a heart rate monitor and knowing this can help make useful workouts out of things that feel easy. This also makes recovering from a ride much easier.
Not every ride should be hard, and if you get into a good training program, there are times that you should be able to walk off the bike and within an hour not even feel like you did a workout. This is a good thing and over time shows great progress. You can get all the calorie, and cardio benefits without tearing down your body.
The Peloton Heart rate monitor is also ANT+ and Bluetooth low energy (BLE) compatible. That means you can pair it to an android phone or Apple iPhone and use it for tracking outdoor workouts or other classes. Pairing issues are the one hurdle to using an external heart rate monitor. For the standard Peloton Bike you can use the Echo App to pair an Apple Watch and use it as a heart rate monitor.
If you have two people using the Peloton you can use the same heart rate monitor. It does get sweaty after rides since it’s worn against the skin, but dries out pretty quickly. The sensor also easily pops off the strap so it’s possible to just get a second strap and move the sensor between both for each ride.
Screen Pivot for Peloton simplifies the experience for non ride classes.
For folks with the basic Peloton Bike the ability to pivot a screen is a major limitation to getting the most out of non cycling classes. The Bike+ includes a pivot feature, but the basic bike requires a small accessory to enable pivoting.
Thankfully there are a number of secondary accessories available to add pivoting.
Peloton Compatible Headphones
The Peloton bike and Peloton tread are both bluetooth compatible. Some wonder does peloton have a headphone jack? Yes, The bike comes with a standard headphone audio jack if you don’t want to use bluetooth ones. You can use most headphones, except for ones with short cords since they won’t reach from the headphone jack (behind the right hand side of screen) to your ears.
The Peloton branded headphones are nothing special, but it is nice to have a dedicated pair that stays with the bike so you never have to search for them. AirPods and other earbuds are a good choice for riding but Bose style over the ear versions can become bulky and bounce around when climbing out of the saddle.
It’s worth noting that the speakers on a Peloton bike work fine to, but if you have the bike in a shared space it’s nice to be able to zone out without bothering others. This is possible since the bike is relatively quiet except for the slight “whirring” sound of the spinning pedals and resistance wheel.
The one issue I have had with the Peloton headphones is that they sometimes wind up triggering volume down/mute. I can’t tell if this is from accidental pressing of a volume down, or if sweat is causing that same volume down feature. It’s annoying for sure but has only popped up on a handful of rides, when it does I have removed the headphones entirely and just gone with the standard speakers for the remainder of the ride. Pulling headphones out mid ride will not pause the spin class or cause you to miss out on the leaderboards.
Peloton Setup Location Considerations
For the most part Peloton bikes will be delivered and setup for you. Before it is unloaded from a truck and unboxed into your house it’s important to consider the location. A few years ago the marketing ads for Peloton were mocked for their ridiculous placements, mainly because the piece of exercise equipment was given prominent placement in kitchens, living rooms and others. Realistically though, some of these may have been good options.
If you plan to ride often, staring at the screen can get boring. Even with class instructors trying to keep things interesting, having a Peloton on a balcony with a view is preferable to staring at a basement wall. That is not to say a basement is a bad spot for the bike. It checks most of the major boxes for location consideration.
Those are 1) access to an electrical outlet, 2) ventilation or a space for a fan, 3) a quiet cleanable floor. Even with a mat underneath, it’s nice to avoid sweat dripping onto carpet, so hard floors are the recommendation. Personally, our bike sits in a corner of the garage and has a dedicated shelf next to it for the various accessories (and also to serve as a side table while riding for any snacks, electronics, or whatever).
Airflow and Fans
If you plan to spend an hour producing energy while stationary, it’s going to get hot. Cycling can be one of the sweatiest sports, but outside moving through the air will naturally cool you down. To counteract this hotboxing of where you have a Peloton setup you should really consider a fan.
There are a number of considerations when choosing a fan for your Peloton, including the size, air flow, power source, and design. If you want to find out more about choosing a good fan, check out our complete guide to fans for Peloton.
Where is the power and volume for peloton bike screen?
Seriously these are hidden away and hard to find intuitively. For 15 minutes of my first ride I searched for these buttons. Like a computer from the 20th century, the power button is on the back of a Peloton bike screen at the top, and the volume buttons are hidden behind the screen on the ride side by the headphone port.
Taking screenshots of your workout on Peloton, for example if you wanted to add them to a website, is a bit tougher. The easiest way is to use the key frame generated for each ride which is then shared to Strava or Instagram. It’s possible to manually take a screenshot of the Peloton screen by hitting the down volume button and the power button at the same time, and holding for 1-2 seconds.
This saves a screen grab to the internal storage of the bike. From there you can connect a secondary device by Bluetooth and share the images by accessing them in the settings. This won’t work with iPhones since they refuse images shared directly via Bluetooth, but most android phones and tablets will work just fine.
Add Peloton rides to Strava for consolidated tracking of your training.
Combining workouts into a single place makes it easier to monitor and planning a training routine. Many athletes have had the experience that “if it’s not tracked it didn’t count”. This concept is the same for grandparents with a step tracker as it is for a competitive athlete. Strava and Peloton have worked out a simple integration that allows Peloton rides to automatically save to a Strava account.
Making the updating of a workout seamless is key to avoid headaches. No one likes to finish up a ride, then have to spend 10 minutes laboriously typing in the details of the workout to a separate app.
Ride Peloton without a class using a scenic unguided ride or “just ride”

One of the obvious added costs of Peloton is the monthly subscription. Without the subscription membership there are only a handful of demo classes available and an option to “just ride”. Even for the Just Ride option, a subscription will enable scenic rides that are a recording of a ride through great nature or urban settings. If you want to experience a similar effect though, just hop on a Peloton without a subscription and open up a nearby phone, tablet, or connected TV, and browse to a Youtube video of the same and you can experience the same thing.
Consistency in cycling helps build a base for training. When on an exercise bike, it is nice to get some new scenery. Peloton offer scenic rides, a way to break up the monotony of watching a screen. Paired with a good sound track and an idea of how to structure your ride, scenic rides can be turned into hard workout or training test. With or without the membership you can still get access to the cadence and output metrics that are the basis of a strong bike training program.
The Icelandic ride, a scenic ride that comes with membership, starts and stops over a long gravel road thats weaves through the mountains. Wild life and new scenic views are a minute to minute occurrence. While the road follows over hills, you can pick a pace and lock on it at a metronome like pace.

Power zones can be hard to stay in but once you put power zones on screen, track your rate rate, or match a songs cadence at a known resistance and it helps stay within those zones for longer. Especially nice is not having to navigate hills, which again helps stay in a predefined zone when compared to cycling outside. For managing Power Zone training there are no additional accessories required. Heart rate zone training is different, as you will need a heart rate monitor to know what zone you are in.
3 thoughts on “The Complete Guide to Peloton Setup and Peloton Accessories and How They Can Make Riding the Bike Easier”
Comments are closed.